Easy tutorial: Hair scrunchie
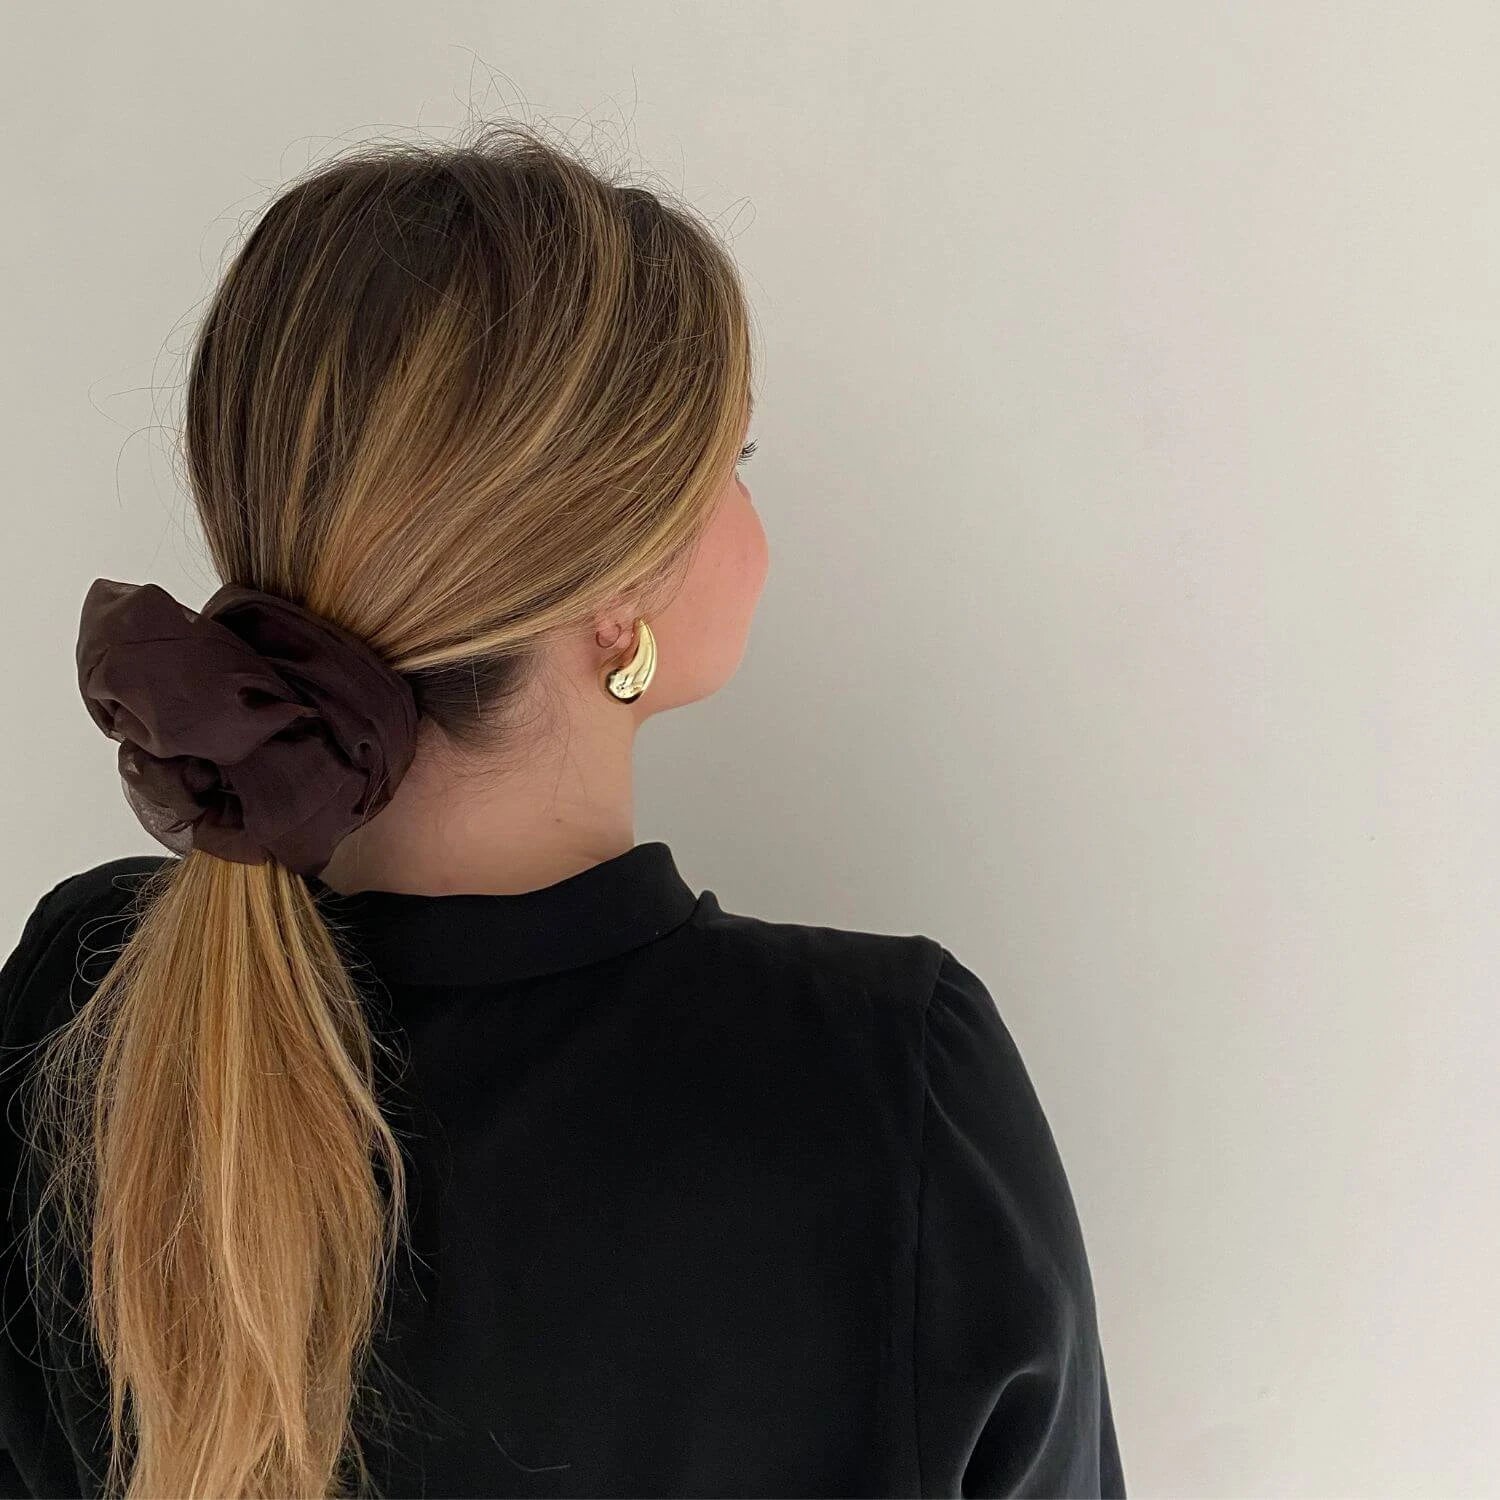
Long forgotten after its heyday in the 1980s, the hair scrunchie is making a comeback and once again establishing itself as a must-have. Practical and elegant, it allows you to create a variety of hairstyles, from the simplest to the most sophisticated.
Of course, you can easily buy them in stores or online, but why not try making one yourself?
Follow our step-by-step tutorial to create a unique, homemade scrunchie.
1. Choose the ideal fabric for your scrunchie
Before you begin, select the fabric that will bring your creation to life. A scrap of fabric you already have at home can work just fine, or you can visit a fabric store to find the fabric you like.
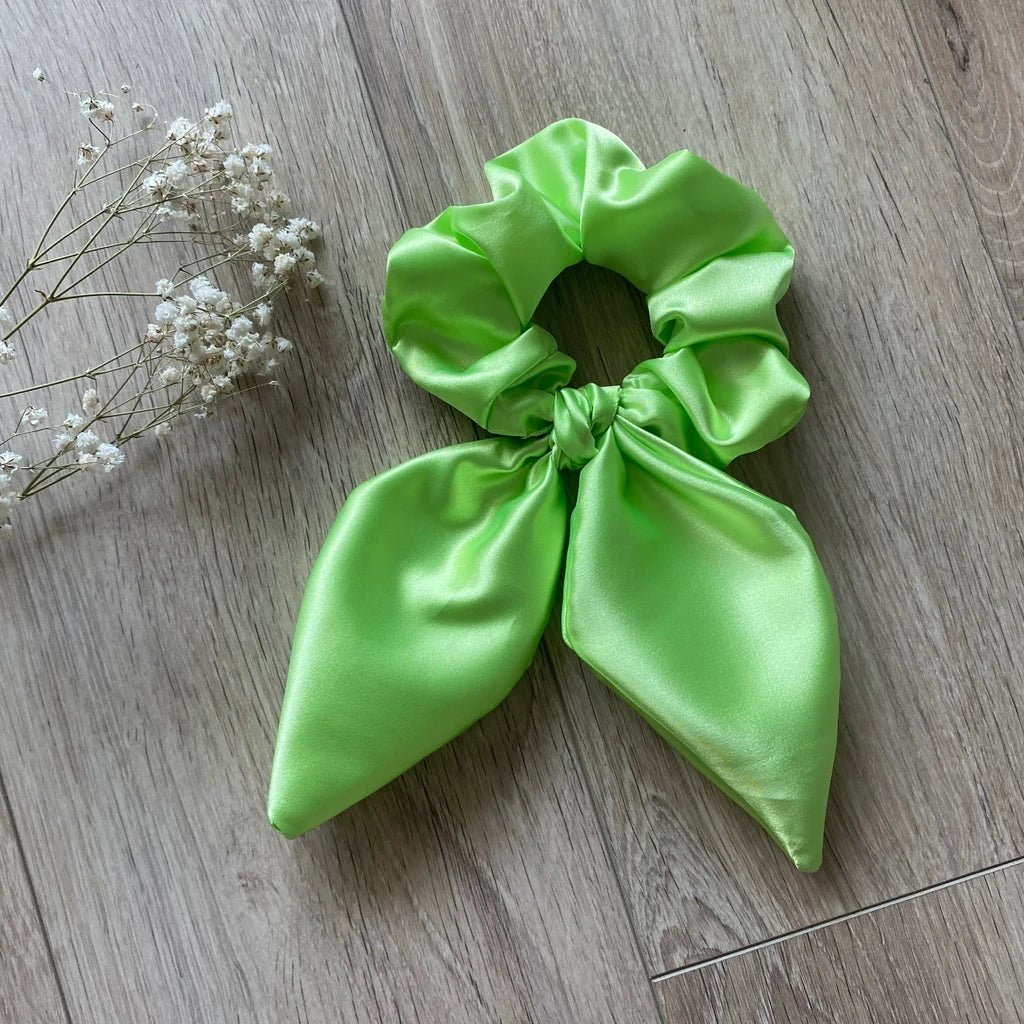
The possibilities are endless: cotton, viscose, satin, silk, velvet, tulle... At Violette & Rose, we favor soft and silky fabrics like satin, viscose or silk, which protect your hair and avoid unsightly marks.
Quick tip: Natural silk is particularly recommended for its moisturizing, protective, and restorative properties for hair. If you choose this material, always check its origin to ensure its quality.
2. Prepare the necessary materials
To make your scrunchie, you will need:
- A rectangle of fabric measuring 12 x 50 cm
- Thread to match your fabric
- A sewing machine (or a needle for hand sewing)
- Pins
- A flat elastic band 5 mm wide and 19 cm long
- A safety pin
- A pair of fabric scissors
Even without a sewing machine, you can make your scrunchie by hand. It will just take a little longer.
3. Tutorial: Sew a fabric scrunchie
Step 1: Cut out your fabric
Using fabric scissors, trace a 12 x 50 cm rectangle on your fabric, then carefully cut it out.

Step 2: Fold and pin
Fold the fabric in half lengthwise, right sides together, to create a 6 x 50 cm rectangle. Pin the edges to ensure it stays in place when sewing.
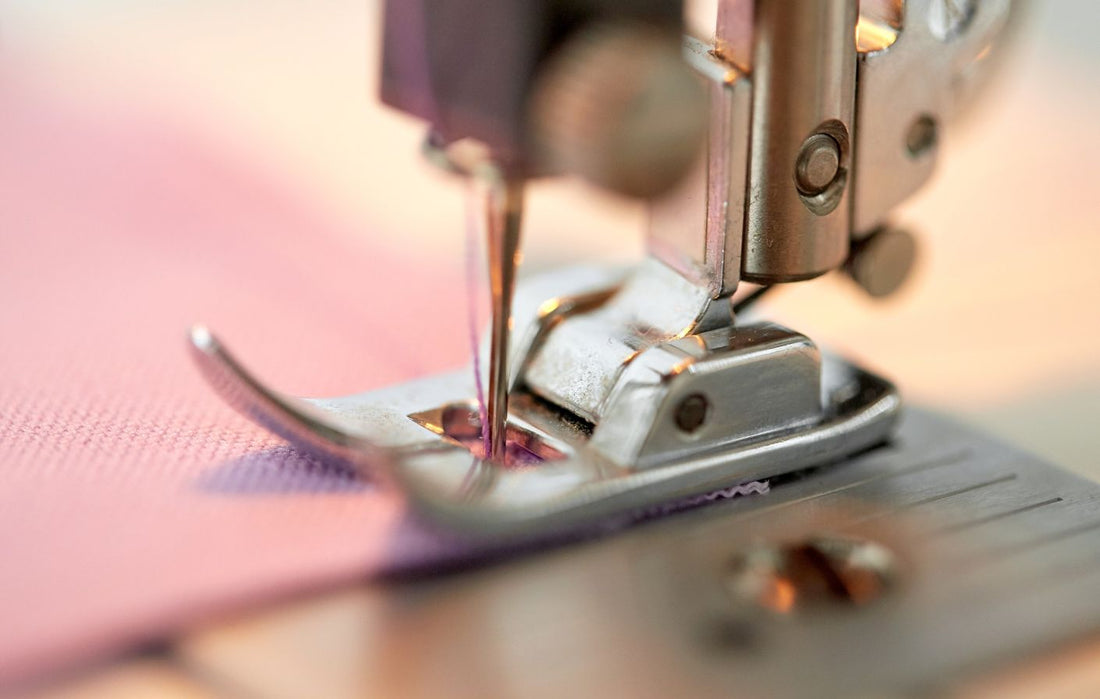
Step 3: Sew the edges
Using a machine or by hand, start sewing along the long edge of the rectangle, 5 cm from the top of the work, leaving a 2 cm opening so that you can turn the fabric over later.

Step 4: Shape the tube
Once the sewing is complete, you have a tube. Using a safety pin, insert one end of the tube into the other, through the opening, to begin forming the scrunchie. Align the seams carefully before sewing the top end of the tube.

Step 5: Turn over and insert the elastic
Turn the fabric right side out using the opening you left earlier. Then use a safety pin to thread the elastic through the tube. Once both ends of the elastic are out, knot or sew them together.

Step 6: Close the opening
Hand sew the opening used to turn the fabric, and voila, your scrunchie is ready!

A unique scrunchie, made by you
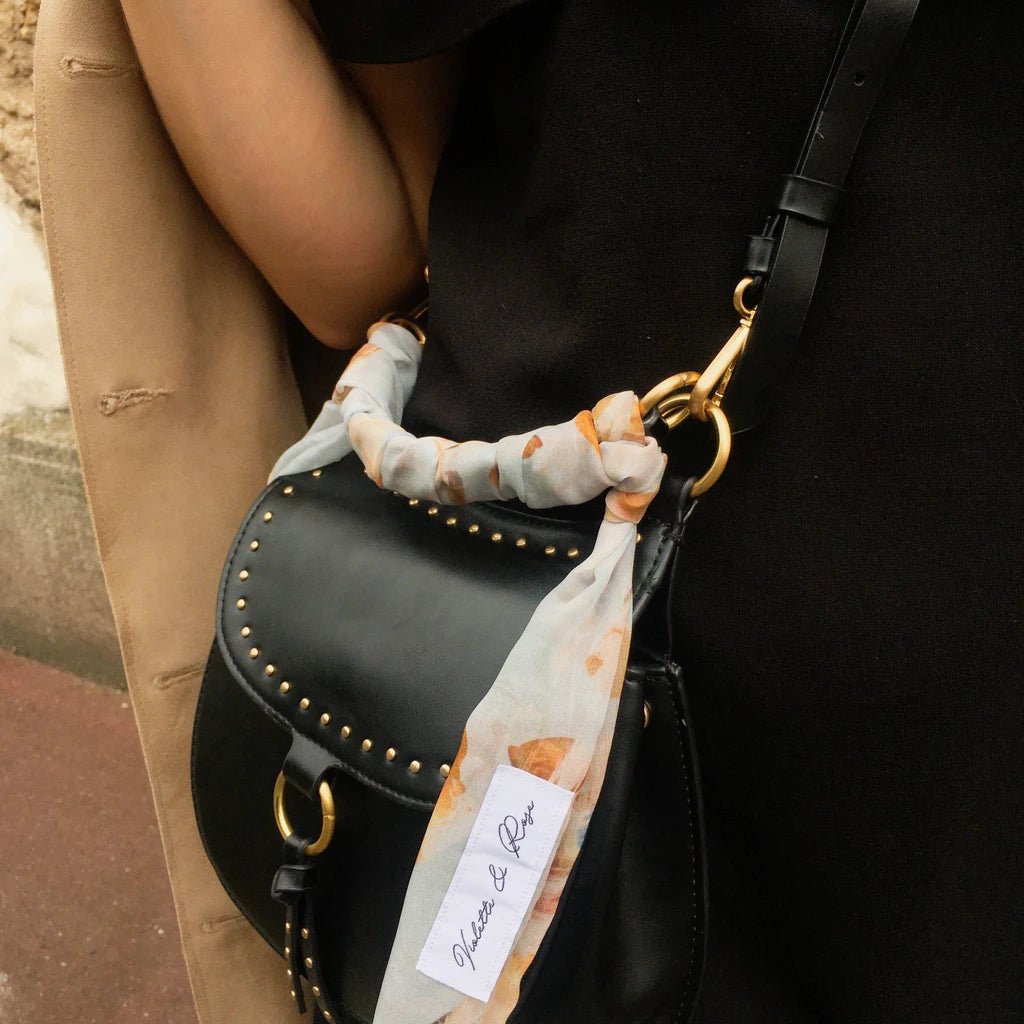
Congratulations, you've just created your own fabric hair scrunchie! For those less hands-on, don't panic: you can find the entire collection of hair scrunchies at Violette & Rose.
Share your creations with us on Instagram by tagging us @violette.et.rose. We can't wait to see your talents!